Last week, I shared how to build a simplest React Native component from scratch. Now I want to do something more complicated. I will link Dynamsoft Barcode Reader SDK, which released as an AAR bundle file, to a React Native Barcode project and write some Java code as the bridge between JavaScript code and the library.
Building React Native Project with a Native Module and an AAR File
Before writing code, I had to figure out two things: which tool should I use to write Java code and how to compile the project with a dependent AAR file.
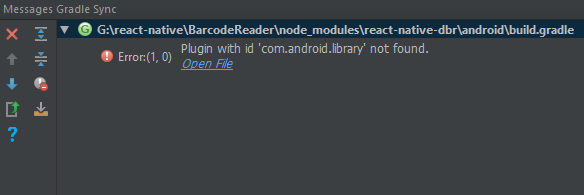
Plugin with id ‘com.android.library’ not found
For the first question, the answer is no doubt Android Studio. However, I found the module project which successfully built with React Native project cannot work in Android Studio.
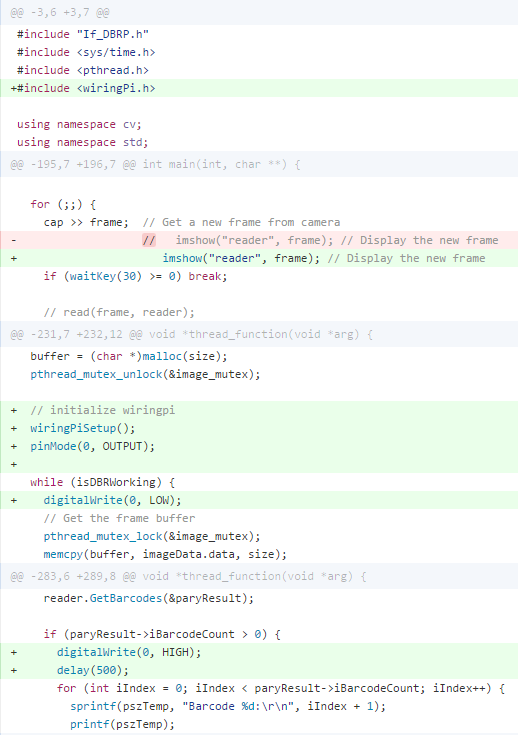
Here is the original build.gradle file:
apply plugin: 'com.android.library'

android {
    compileSdkVersion 23
    buildToolsVersion "25.0.0"


    defaultConfig {
        minSdkVersion 16
        targetSdkVersion 23
        versionCode 1
        versionName "1.0"
    }
}

dependencies {
    compile "com.facebook.react:react-native:+"
}
When importing the project into Android Studio, you will see the error message:
![gradle android library error]()
To solve this issue, change build.gradle as follows:
apply plugin: 'com.android.library'

 buildscript {
     repositories {
         jcenter()
     }
     dependencies {
         classpath 'com.android.tools.build:gradle:2.3.0'
     }
 }

allprojects {
    repositories {
         mavenLocal()
         jcenter()
         maven {
             // All of React Native (JS, Obj-C sources, Android binaries) is installed from npm
             url "$rootDir/../node_modules/react-native/android"
         }
        flatDir{
            dirs "$rootDir/lib"
        }
    }
}

android {
    compileSdkVersion 23
    buildToolsVersion '25.0.0'

    defaultConfig {
        minSdkVersion 16
        targetSdkVersion 23
        versionCode 1
        versionName "1.0"
    }
}

dependencies {
    compile 'com.facebook.react:react-native:+'
    compile(name:'DynamsoftBarcodeReader', ext:'aar')
}
There are two ways to link AAR files using Gradle. One is to import an AAR file as a module and then add dependencies. The other is to specify the library path and add the line as follows:
compile(name:'DynamsoftBarcodeReader', ext:'aar')
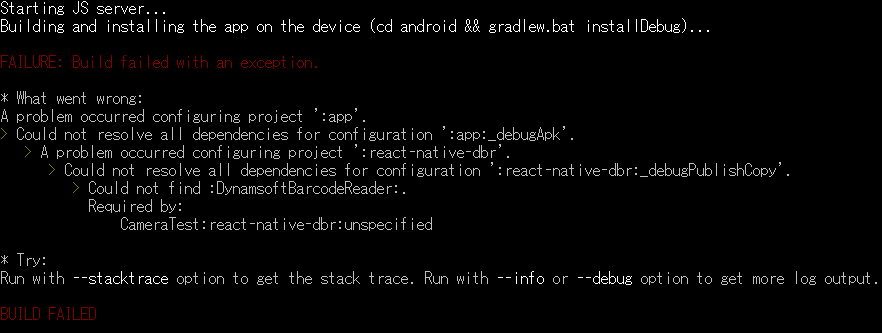
Could not find the AAR file
Once everything is fine in Android Studio, try to build the native module with React Native project:
npm install
react-native link
react-native run-android
Something is wrong here:
![react native aar error]()
The AAR file cannot be found! How to solve this issue? My solution is to add the library path to android/build.gradle. The path is different from that used in module project because $rootDir is the directory of the current build.gradle file.
buildscript {
    repositories {
        jcenter()
    }

    dependencies {
        classpath 'com.android.tools.build:gradle:2.2.3'
    }
}

allprojects {
    repositories {
        mavenLocal()
        jcenter()
        maven {
            // All of React Native (JS, Obj-C sources, Android binaries) is installed from npm
            url "$rootDir/../node_modules/react-native/android"
        }
        flatDir{
            dirs "$rootDir/../node_modules/react-native-dbr/android/lib"
        }
    }
}
Try to build the project again. It should work now.
Android Barcode Reader
UI elements
The UI only contains two elements: text and button. Click the button to scan barcode and use the text view to display results:
constructor(props) {
    super(props);
    this.state = {
      result: 'N/A'
    };

    this.onButtonPress = this
      .onButtonPress
      .bind(this);
  }

  onButtonPress() {
    BarcodeReaderManager.readBarcode('C6154D1B6B9BD0CBFB12D32099F20B35', (msg) => {
      this.setState({result: msg});
    }, (err) => {
      console.log(err);
    });
  };

  render() {
    return (
      <View style={styles.container}>
        <Button title='Read Barcode' onPress={this.onButtonPress}/>
        <Text style={styles.display}>
          Barcode Result: {this.state.result}
        </Text>
      </View>
    );
  }
}
Barcode Detection Logic
The native code mainly consists of two parts: a barcode detection activity and a React Native module that used to launch the barcode activity:
private final ActivityEventListener mActivityEventListener = new BaseActivityEventListener() {

        @Override

        public void onActivityResult(Activity activity, int requestCode, int resultCode, Intent intent) {

            if (requestCode == REQUEST_CODE) {

                if (mResultCallback != null) {

                    if (resultCode == Activity.RESULT_OK) {
                        JSONObject obj = new JSONObject();
                        try {
                            obj.put(TEXT, intent.getStringExtra("SCAN_RESULT"));
                            obj.put(FORMAT, intent.getStringExtra("SCAN_RESULT_FORMAT"));
                        } catch (JSONException e) {
                            Log.d(LOG_TAG, "This should never happen");
                        }
                        mResultCallback.invoke(obj.toString());

                    } else if (resultCode == Activity.RESULT_CANCELED) {
                        Toast.makeText(getReactApplicationContext(), "Cancelled", Toast.LENGTH_LONG).show();
                    } else {
                        Toast.makeText(getReactApplicationContext(), "Unexpected error", Toast.LENGTH_LONG).show();
                    }
                }
            }
        }

    };

    @ReactMethod

    public void readBarcode(String license, Callback resultCallback, Callback errorCallback) {

        mResultCallback = resultCallback;
        Activity currentActivity = getCurrentActivity();

        if (currentActivity == null) {
            errorCallback.invoke("Activity doesn't exist");
            return;
        }

        Intent cameraIntent = new Intent(currentActivity.getBaseContext(), DBR.class);
        cameraIntent.setAction("com.dynamsoft.dbr");
        cameraIntent.putExtra("license", license);
        cameraIntent.setPackage(currentActivity.getApplicationContext().getPackageName());
        currentActivity.startActivityForResult(cameraIntent, REQUEST_CODE);
    }
Do not forget to add permissions and declare the activity in AndroidManifest.xml:
<manifest xmlns:android="http://schemas.android.com/apk/res/android"
          package="com.dynamsoft.barcodescanner"
          xmlns:tools="http://schemas.android.com/tools">

    <uses-permission android:name="android.permission.CAMERA"/>
    <uses-permission android:name="android.permission.FLASHLIGHT"/>
    <uses-feature
        android:name="android.hardware.camera"
        android:required="false"/>
    <uses-feature
        android:name="android.hardware.camera.front"
        android:required="false"/>
    <uses-sdk android:minSdkVersion="15" tools:overrideLibrary="com.dynamsoft.barcode"/>

    <application android:allowBackup="true"
                 android:label="@string/app_name">

        <activity
            android:name="com.dynamsoft.camera.DBR"
            android:clearTaskOnLaunch="true"
            android:configChanges="orientation|keyboardHidden|screenSize"
            android:exported="false"
            android:theme="@android:style/Theme.NoTitleBar.Fullscreen"
            android:windowSoftInputMode="stateAlwaysHidden"/>
    </application>
</manifest>
How to use the module
Create a new React Native project:
react-native init NewProject
Add the dependent module from the local drive:
"dependencies": {
	"react": "16.0.0-alpha.6",
	"react-native": "0.43.3",
	"react-native-dbr":"file:../"
},
Or through npm:
npm i react-native-dbr --save
Link the dependency:
react-native link
Define the library path in android/build.gradle:
flatDir {
    dirs "$rootDir/../node_modules/react-native-dbr/android/lib"
}
Use the module in index.android.js:
import BarcodeReaderManager from 'react-native-dbr';

BarcodeReaderManager.readBarcode('C6154D1B6B9BD0CBFB12D32099F20B35', (msg) => {
    this.setState({result: msg});
},
(err) => {
    console.log(err);
});
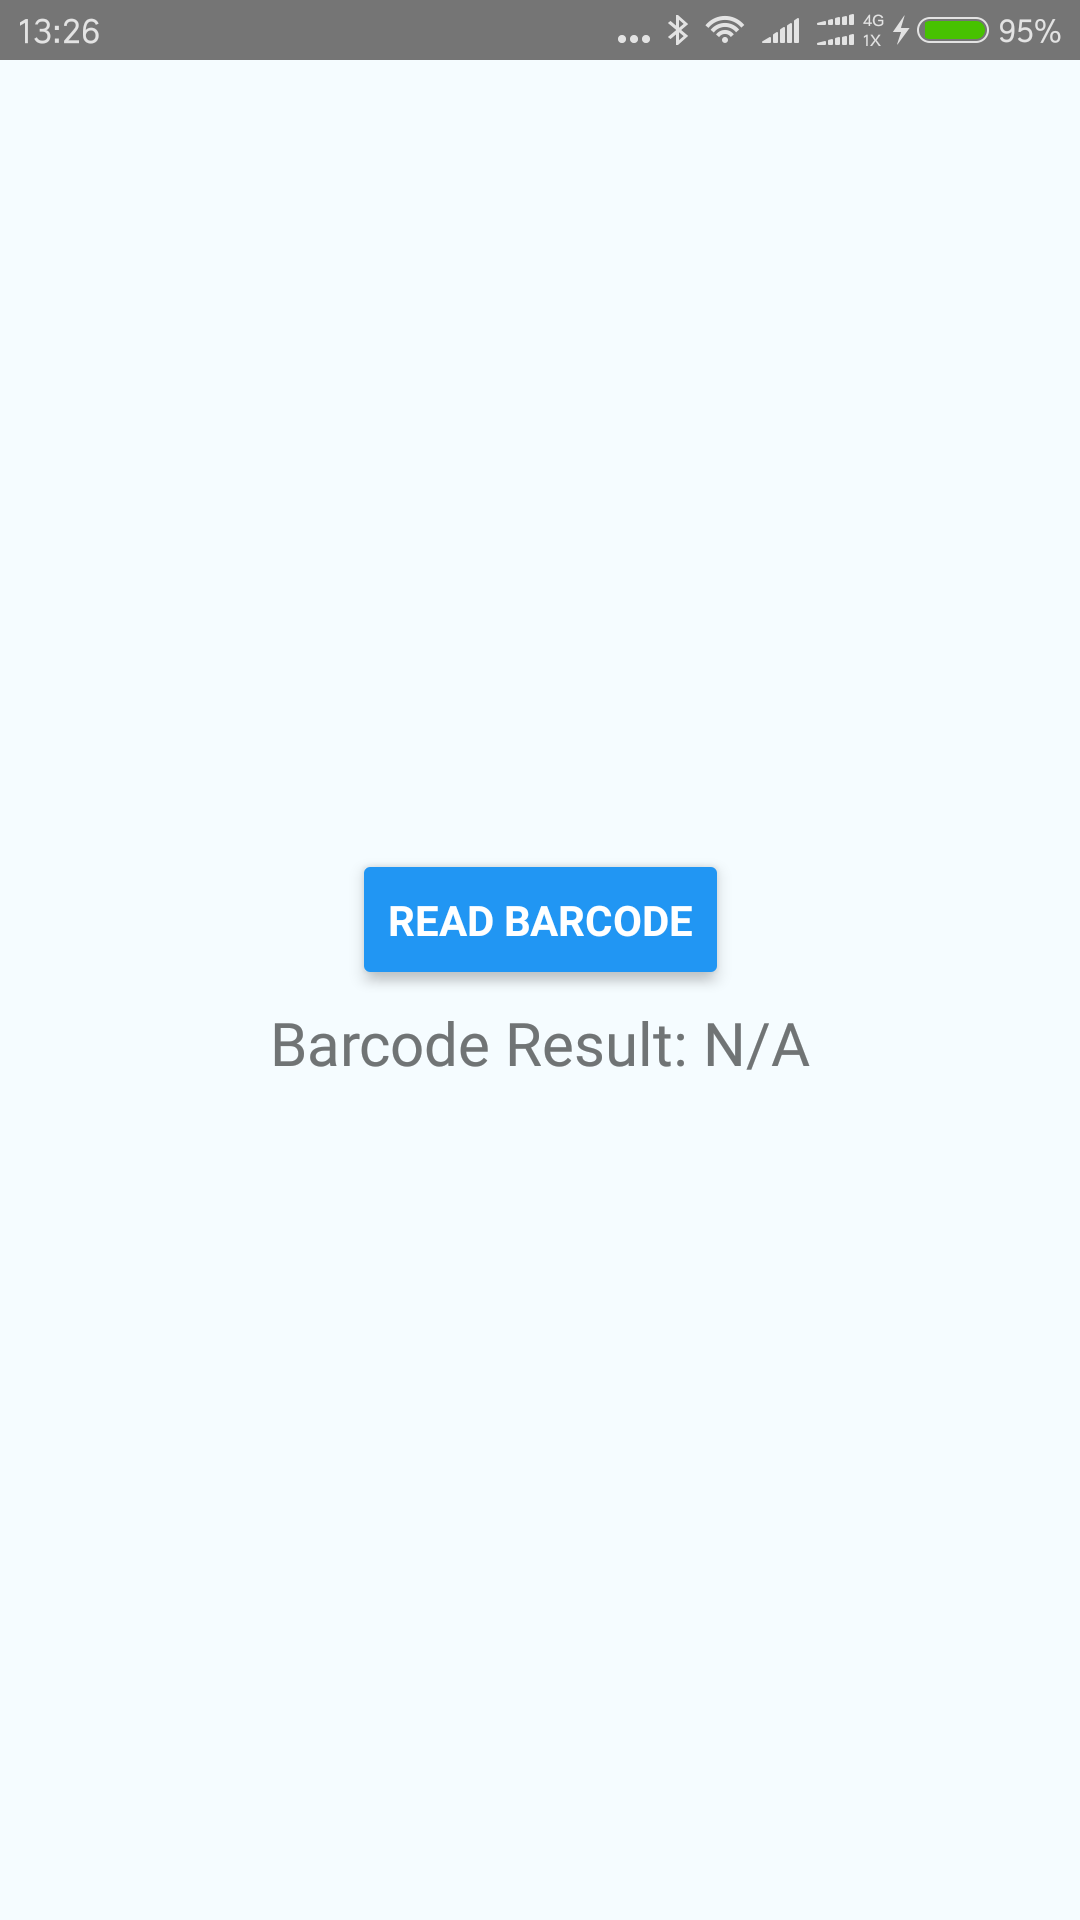
How to use the app
Launch the barcode reader app.
![react native barcode app]()
Press the button to invoke barcode scanning view:
![react native barcode detection]()
Once a barcode detected, display the result:
![react native barcode result]()
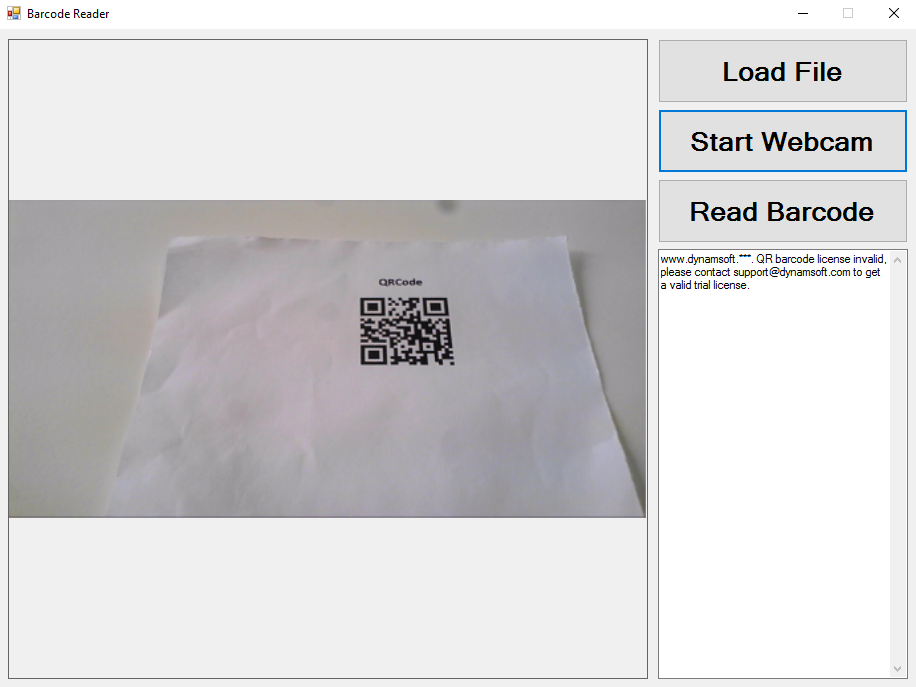
Remember to add a valid license. Without a valid license, the library can still work, but cannot fully display the result. Please contact support@dynamsoft.com if your license is expired.
![react native barcode license]()
Source Code
https://github.com/dynamsoft-dbr/react-native-dbr
The post Android Barcode Detection Component for React Native appeared first on Code Pool.